![]()
![]()
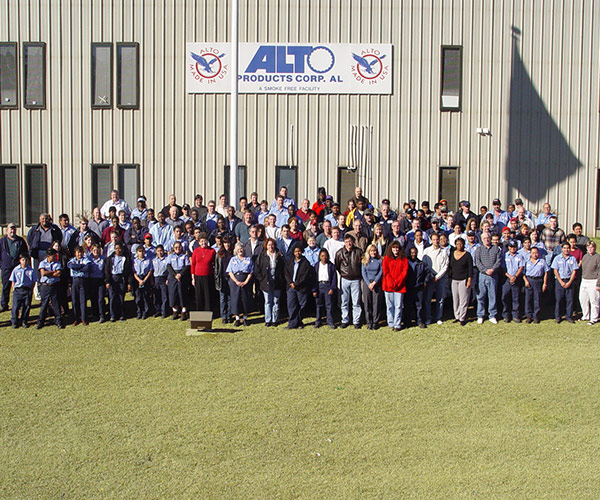
Alto Products Corp.
The “Clutch” Friction Material Specialists
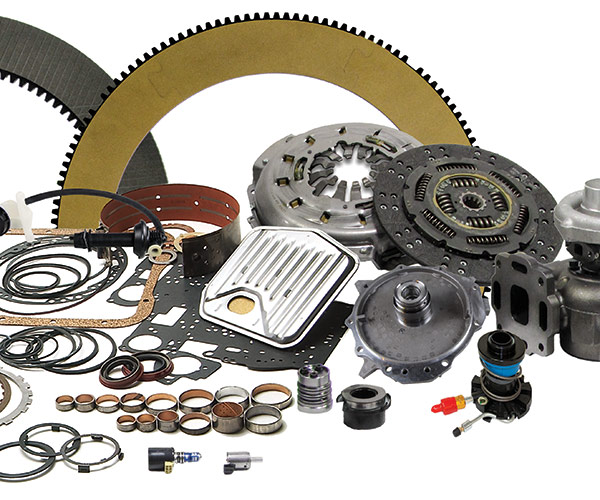
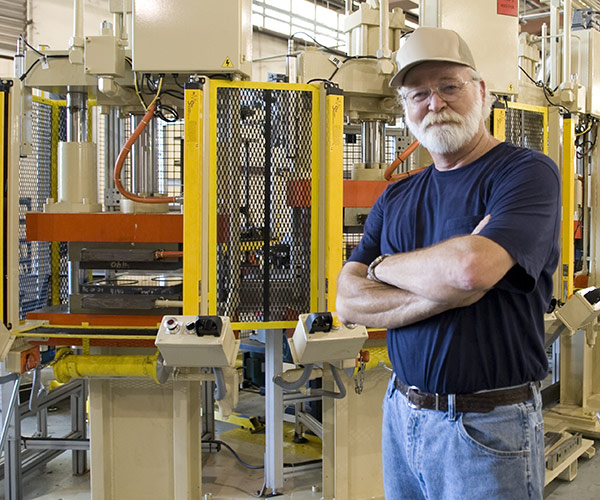
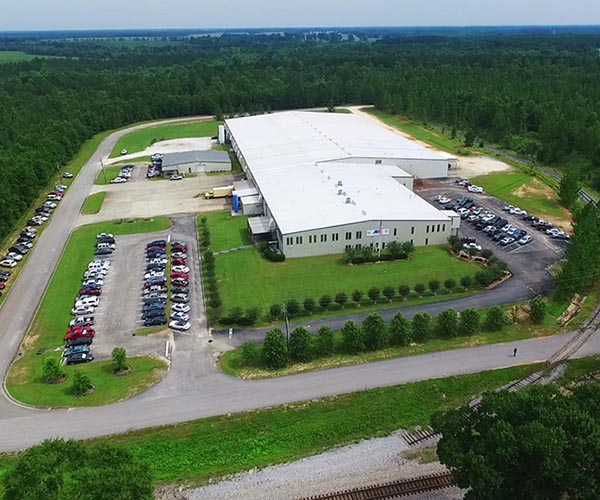
Alto is the leader in the development and design of friction material and the manufacture of drive train components
For over 50 years, Alto has manufactured over a billion friction clutches, steel reaction plates, and powertrain components for automotive, hi-performance, heavy-duty, industrial, marine, and motorcycle applications.
News and Events
Check back for something new
New Products
Alto # 195680 GM 6L45, 6L50, 6L80, 6L90, 3 pc Snap Ring Kit
Alto # 216705A150PS Thin .059 C & E PowerSteel™ ZF 8HP55, 70-75, 90-95
Alto # 1952551-118 GM 6L80, 6L90E, 1-2-3-4 & 3-5-REV Clutch Snap Ring (.118)
Alto # 245670 Toyota UB80E, UB80F, 4pc Piston Kit